Semi-permanent varnish has been a real revolution for busy women who don’t have time to change their varnish daily. Today, the nail supply expert Maryton will tell you the procedure for applying semi-permanent varnish.
The professional carrying out the service uses the same protocol as for a classic varnish application. Whether in an institute, in a nail bar or at home, she begins by preparing the nails by filing them then cleaning them before pushing back the cuticles.
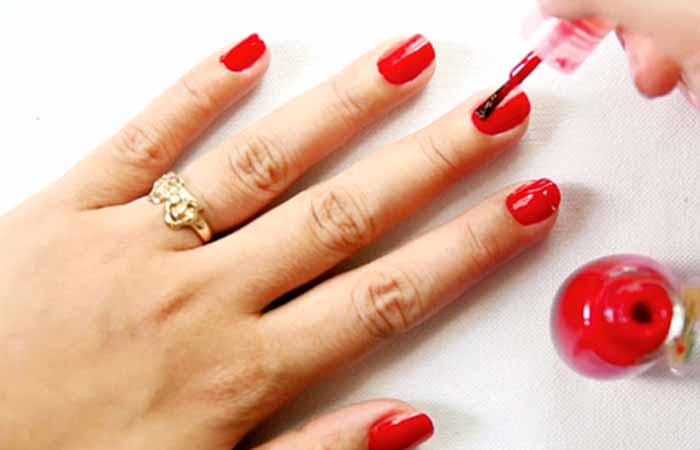
She then applies primer to each nail on one hand. When this is done, she runs it under a UV lamp for 30 seconds. Two coats of varnish are applied afterwards, always with 30 seconds of drying time between the two passes. And finally, the prosthetist applies a top coat, which is also dried under the UV lamp.
Generally, this application takes around half an hour and the nails are ready at the end of the break unlike the classic varnish application requiring drying time. Concerning colors, there is a whole range like those found for classic varnishes: nude, glittery, colored…
Thanks to this, they can display impeccable nails for around two weeks with the same result as when applied. Especially since it is available in a wide choice of colors. In a beauty salon, in a nail bar or at home, the nail technician offers a semi-permanent varnish application and removal service.
Hoping that this article has pleased you and will give you ideas! In addition, I also advise you to invest in some professional manicure sets to care for your nails.


