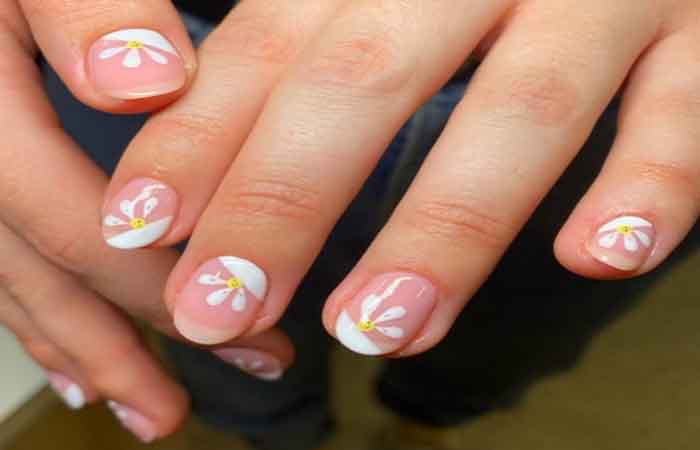
If you don’t have a flower in your yard, you’ll have some on your nails. A pretty daisy-like flower, on a sky blue background. A soft flower that gives the impression of being under the sun. Today, let’s learn about the floral nail art.
The material to make this nail art:
- Base coat
- Sky blue, yellow, orange, white and white glitter varnish.
- Sponge stamp for gradient
- Top coat
The steps to floral nail art:
- Apply a base coat to all nails.
- Apply two coats of sky blue polish to your nails.
- On a plastic sheet, place a few drops of white glitter nail polish and gently dab part of your nails, emphasizing the end.
- Apply a few drops of white varnish, and draw the petals of the flowers using a fine brush.
- With yellow and orange varnish or acrylic paint, form the center of the flower by making small strokes with a fine brush.
- Make small white dots along some petals to enhance the glitter.
- Repeat the operation on all the nails, changing the location of the flower.
- Apply a layer of top coat.
Now that you know the floral nail art, take action with your manicure sets! If you don’t have nail tools, you can visit our nail supply store.
Read also: Easy needle nail art tutorial


