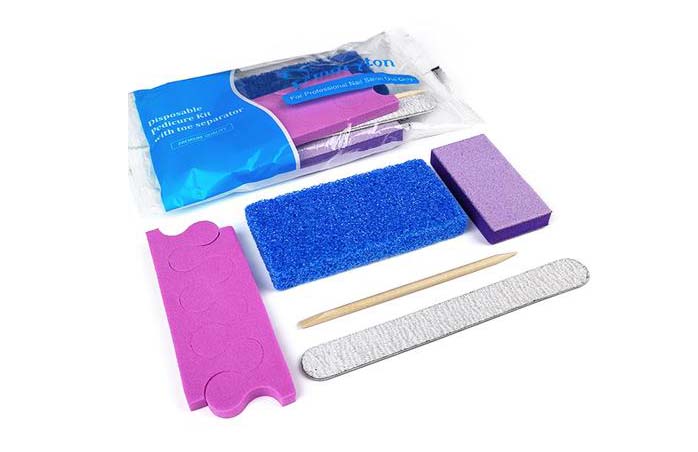
As the pace of summer time approaches, our feet are hidden away for months, it’s time to showing them in public. So, how to do a home pedicure with your own pedicure kits and what to pay attention to for pretty feet to show off this summer? Here are our seven simple steps to get you and your feet ready for summer!
Step 1: preparation
Gather everything you need, make yourself comfortable and get ready for a moment of relaxation. Because a pedicure can help you forget all your worries.
Step 2: a foot bath
Before using a pedicure product or accessory, relax by taking a nice hot foot bath. It not only relaxes you and your feet, but also prepares your skin for the treatment.
Step 3: dead skin
now your feet are all soft and clean after your foot bath, use an electric grater, like the one from Maryton, to get rid of the hard dead skin on your feet.
Step 4: nails
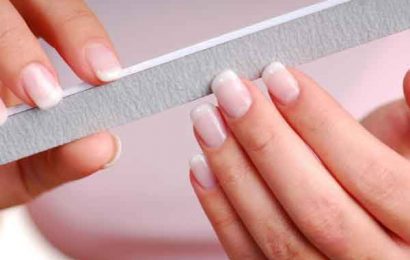
When you cut your nails, cut them straight, without rounding them too much to avoid the appearance of ingrown nails. Simply file the edges of the nail, gently, to prevent them from snagging or splitting, and pamper them with an electric file.
Step 5: cuticles
After performing your foot bath, gently push back the cuticles, using a suitable cuticle pusher. Be careful! Because a cuticle of the nail that comes off or tears can promote infections.
Step 6: Hydration
Using a foot cream regularly helps preserve the natural beauty of your feet. A good moisturizer can maintain your feet both day and night and hydrates your feet to make them supple and incredibly soft.
Step 7: the finish
Finish with your favorite color. A home pedicure isn’t just about getting rid of your calluses, and no pedicure would be complete without a nice nail polish.
Wish you have a great pedicure!
Read also:Everything to make a great pedicure!


